Friday, November 7, 2014

Happy Friday!

This was a really great week! Not only was it my birthday, but I also felt pretty productive. I got a bunch of school work done and made it to yoga three times. Here are my top picks of the week...

1. We got the cats a cat bed. We assumed they would completely ignore it and I would end up returning it. Boy were we wrong! Halo absolutely loves it!!! Pantera, on the other hand, could care less. Halo sleeps in it ALL day!!

2. I got to Skype with my family while I opened my birthday presents. It made it seem like they weren't soooo far away! They even sang happy birthday to me while I blew out the candles on my cake...which brings me to this next picture!

3. Mike made this delicious turtle chocolate cake for me for my birthday. It turned out so good!! I was really impressed!!!

4. Honestly, I just thought this picture was super funny and wanted to include it. I was trying to send a picture of some of my presents to my friend Reina, but of course a cat had to get in the way! Halo looks so upset in this picture, it just made me laugh!! As you can see from the picture, I will soon be learning to can and make soap!

5. Mike's birthday present to me is a weekend trip to Denver!! I'm BEYOND excited! We will be visiting the Denver Botanical Gardens, enjoying some meals out, and doing some shopping. It will be so nice to get out of town and spend some quality time together! It's a super thoughtful gift and I will share more about it on Monday!

Have a great weekend!!!

Thursday, November 6, 2014

Birthday Reflections

Today I turn 27! My twenty-sixth year was definitely an eventful one. Right around my birthday last year we found out Mike was accepted to the gunsmithing program at Trinidad State in Trinidad, Colorado. We quickly planned a trip to come visit the area and find a place to live. A month after that I was quitting my job that I had been at for the past three years and had really enjoyed. We celebrated Christmas with our family and friends and then said our good-byes. On New Years Eve Mike and I headed out to Colorado! My mom and dad came with us and helped us get settled in. While trying to figure out what I was going to do in Colorado I decided to also go back to school and study business. Mike and I started classes in January and have really enjoyed them so far. My family came to visit us for a week in March (post one, two, and three) and we got out and explored areas around us a bit and had a blast! Mike and I both got summer jobs at the local state park, which was really convenient since we only brought one car with us to Colorado. I worked in the visitor center and Mike was a seasonal park ranger. We managed to squeeze in a couple camping trips during the summer including one for Mike's birthday and another to the Great Sand Dunes National Park. Near the end of August we both started classes again and by October both of our seasonal jobs had ended. Since getting our weekends back we have gone to an Oktoberfest, saw Fall leaves, and visited a pumpkin patch! There are plenty of times when I really miss home or feel like I'm missing out on being there for my friends, but I still feel wholeheartedly that this move was the right decision for us and we are having fun getting to do things we otherwise might never have gotten the opportunity to do.


I gotta say I'm pretty excited for my twenty-seventh year! We have lots of fun and exciting things planned in the next year.

- Mike's mom will be here in just 15 days!!!! It will be eleven months since we last saw her, so I can barely contain myself!
- Just a few short weeks later, Shane and Lindsey are coming for a week long visit! We plan to spend some time in Denver as well as Colorado Springs. It will be good to see some friends again.
- Mike and I will fly home to Florida with Shane and Lindsey and spend two week celebrating the holidays and soaking up time with friends and family. It will have been a year since we left!
- I'm planning to come home again in the beginning/middle of March and stay for about a month. I'm looking forward to getting to stay for an extended time and seeing friends and family again. Shawna and Adam are getting married in April, so I plan to help with whatever wedding activities I can! Mike will fly in for the wedding weekend and then we will fly back to Colorado together.
- I plan to work at the state park again this coming summer and Mike is planning on taking summer classes.
- In August we are going to Yellowstone National Park with my mom and dad. This is a trip I have been wanting to take since I was in fifth grade, so to say I'm excited is an understatement!!

Twenty-six was really good, but I'm willing to bet twenty-seven will be even better!

Monday, November 3, 2014

DIY Soap Dispensers


I've been seeing do-it-yourself mason jar soap dispensers all over Pinterest and decided to make some of my own. There were lots of variations of these little guys. Many of the other tutorials I looked at spray painted the dispenser and metal pieces either black or silver, but as you can see I just decided to leave them as is. What I did do a little differently was paint the word soap on all the jars, and I think it looks rather cute if I do say so myself!


Materials
Mason Jar
Plastic Dispenser (I used the ones from my Bath and Body Works soap)
Nail
Hammer
Strong Glue (I used E6000 which can be found at any craft store)
Optional - Paint and Paint Brushes

1. You need to make a whole in the top of your mason jar for the dispenser to go through. Do this by lightly tapping the nail with the hammer in the center of the metal plate on top of your mason jar. I had to make several holes that eventually connected together to make one large hole big enough for the dispenser to fit.

2. Glue the dispenser in place on the mason jar lid. Many of the tutorials I read just said to use hot glue, so that's what I originally did. However, the first time I went to use the dispenser it immediately came unglued, so I re-glued using E6000 and it worked great. I put some around the rim of the dispenser and held it in place on the mason jar lid for a few seconds and then gave it plenty of time to fully dry.

3. Meanwhile, if you decide to paint your mason jar now is a good time. I just painted what came to mind, but you could use any color you like or paint the entire jar if you want. It's totally up to you!

4. After the lid has fully dried just pour liquid soap into the jar and fasten the lid and you're done!!


Friday, October 31, 2014

Happy Halloween!

Happy Friday and Happy Halloween!!! Did you have a good week? Mine was pretty great.

1. Going to the pumpkin patch last weekend is still a major highlight of my week. We had such a fun time.

2. I made these Halloween themed cupcakes for Mike's class this week.

3. Fall colored M&Ms!!

4. We carved our pumpkins Thursday night. I think they turned out good!

5. Less than a week until my birthday!!!! Packages already started arriving...I can barely contain my excitement!!

Hopefully you have something fun planned for the weekend. See ya on Monday!

This is a linkup with Lauren Elizabeth.

Wednesday, October 29, 2014

Completed Cross-Stitch Project...A Year and a Half in the Making

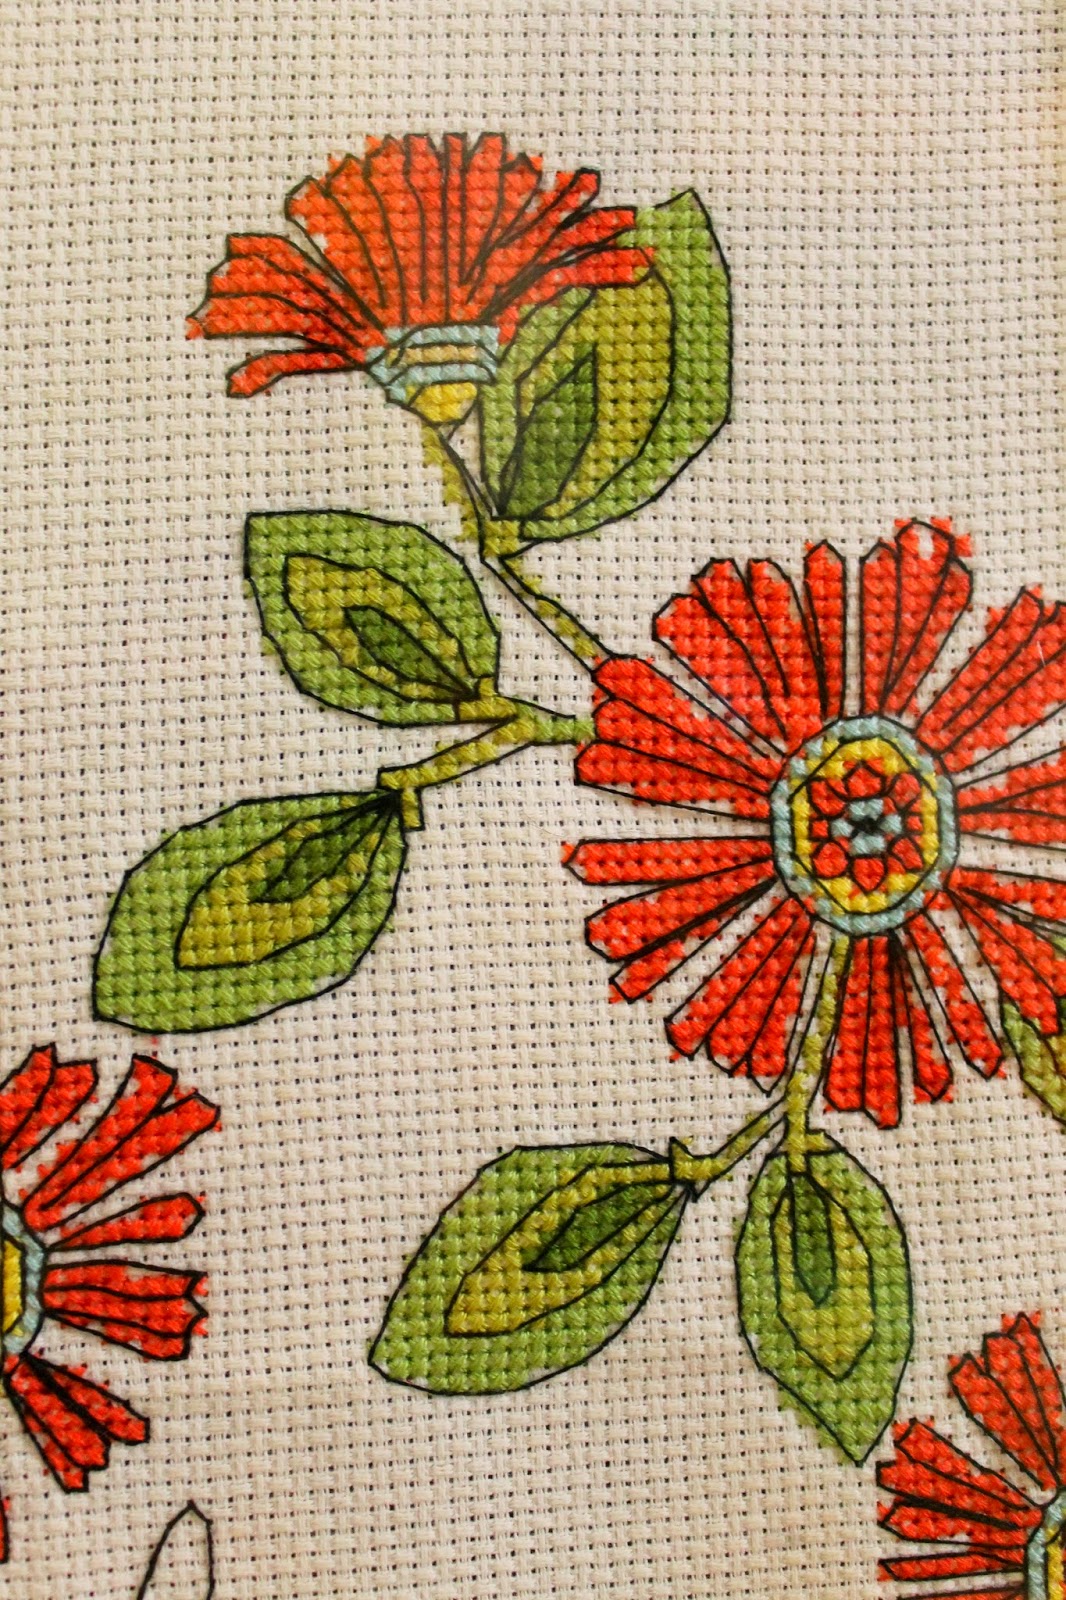
I finally finished a cross-stitch project I have been working on off and on for about a year and a half. It feels good to have gotten it done and I'm really happy with the way it has turned out. I didn't know it at the time I originally started this project, but this owl cross-stitch is just one in a series of about five. I'm now determined to do all of them, but there's no telling how long it will take me! Cross-stitch is definitely one of my favorite forms of crafting, but it does require a lot of patience and sometimes quite a bit of concentration. Often times cross-stitch patterns are pretty outdated, so I'm excited to see more contemporary patterns have been popping up over the past couple of years. Just from my own observations, needle arts like knitting and crocheting have become a lot more popular with young ladies over the past five years or so. It's my hope that cross-stitch may catch on within the next few years. I've already started on the next project in the series. Hopefully this one won't take me quite as long!


Monday, October 27, 2014

Pumpkin Patch

We headed out to Frederika Falls Pumpkin Patch this Saturday. The weather was beautiful and we had a great time! When we first arrived we checked in at their little gift shop area and then ventured over to the corn maze. We walked through the maze area for about 30 minutes or so and then hopped on a hay ride over to the pumpkin patch. This was a legit pumpkin patch where the pumpkins were still growing out of the ground! Mike and I each picked out a pumpkin we liked and then took the hay ride back to our car. After the patch we ate lunch at Obie's on our way home. We have been wanting to check out this restaurant for a while, but just hadn't had a good opportunity yet. It didn't disappoint! Mike had a giant green chili burger and I had beef brisket and pulled pork...yummy!! It was a very relaxing and fun Saturday.


Friday, October 24, 2014

DIY Halloween Wreath


I've made several yarn-wrapped wreaths over the past couple years and, I think, they always turn out cute! This Halloween wreath may be at the top of the cute charts though, so I thought I'd do a little DIY blog post. You can find tons of inspiration on Pinterest, which is where I found the template for the BOO banner on this wreath.


Materials:
Straw or Foam Wreath
Orange Yarn
Black Yarn
Hot Glue Gun
Scissors
Decorative Ribbon
Boo Banner - Can print from here!!


 Start by hot gluing the orange yarn in place on the wreath. Then just wrap the yarn around the wreath leaving little gaps for the black yarn.
 Hot glue the end of the orange yarn in place once you've completed wrapping that color. Next, do the exact same thing with the black, filling in all the gaps as best you can. As you can see from the picture below, the wreath now looks like it has a little too much black. Don't worry, we'll fix it!
 Go back through with the orange yarn one more time to balance out the colors and fill in any gaps where the wreath is still poking through.
Now you can decorate it however you like, but to get this look I hot glued the bow on the top of the wreath using a wired ribbon in a fun Halloween design. If you are unsure how to make a pretty bow, follow this tutorial. Next, print and cut out your BOO banner. Then hole punch two holes in each letter and string the yarn through the letters. Tightly tie the yarn around the wreath to hold the banner in place. To finish I like to attach a little piece of jewelry wire to the back of the wreath to hang it from, but you could always use a piece of yarn or more decorative ribbon.

Happy wreath making!!!! Let me know if you have any questions. Only one week until Halloween!